About the halftone shader:
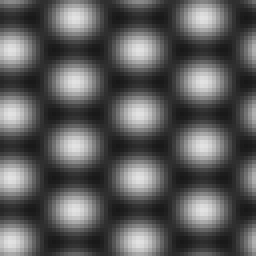
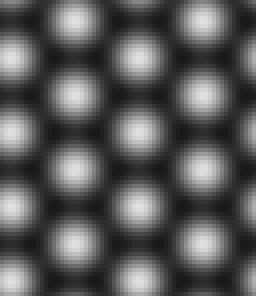
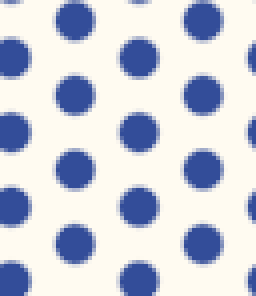
I start with a texture with a nice gradient dots pattern:
In my vertex shader, I emit a screenspace position using the function:
return float4( 0.5f * ( float2( p.x + p.w, p.w - p.y ) ), p.zw );
There might be a simpler way to do that, but it works.
Then in the pixel shader, I use that position multiplied by a scalar to sample the dots texture. I also scale it ~115% larger on the Y axis to correct the squashing.
In the pixel shader, I compute a light value with the standard dot(N,L) function, but instead of directly multiplying the albedo color by the light, I use the light value to control the halftone map.
Essentially, I want to threshold that blurry pattern at the light value, which will give me smaller dots for brighter surfaces and larger dots for darker surfaces. The dots will represent the "inked" areas, so brighter surfaces should have smaller dots and less ink.
I use the HLSL
smoothstep intrinsic to do a Hermite interpolation between values slightly greater than and less than the light value, so I get a soft blend around the dots.
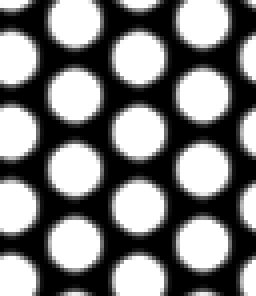
For example, here's the dots clamped at a darker value:
And clamped at a higher value:
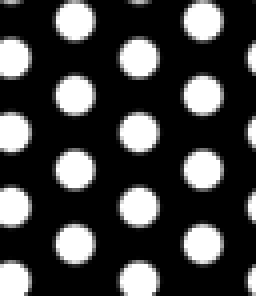
Then I lerp between the light color and the local ambient light color using this value. (Unintuitively, I've shown the dots light and the backdrop dark, but remember that the dots here represent the area where the darker halftone value is "printed," so I'm actually doing the interpolation between the lit value at 0 and the dark value at 1.)
And the result looks something like:
And that blends nicely over the surface of an object using per-pixel lighting.

 Community
